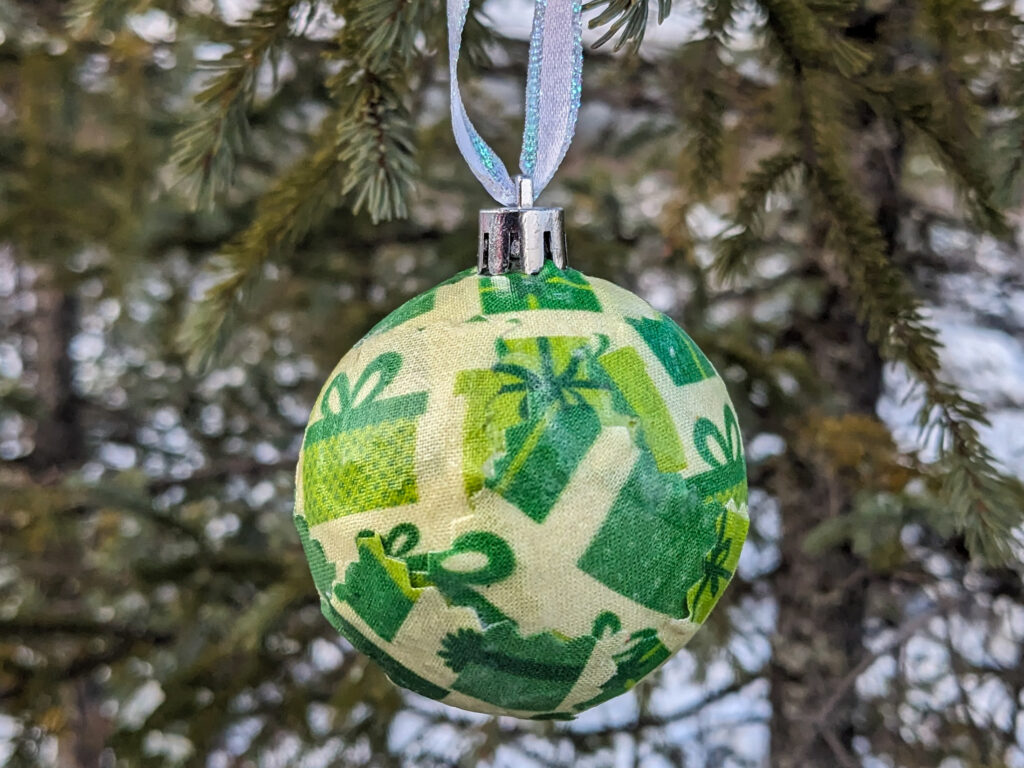
Are you a quilter or someone with a growing collection of fabric scraps and sample swatches? Perhaps you’re a parent, always on the lookout for toddler-friendly holiday decorations? If so, I have a creative solution that can help you put those fabric remnants to good use while making your home festive and kid-safe this holiday season. In this blog post, I’ll share a craft idea on how to create decoupage fabric ornaments using your fabric scraps and swatches.
The Dilemma: Too Much Fabric and a Toddler on the Loose
As a surface pattern designer and a mother of a toddler, this time of the year presents me with two major challenges: an abundance of fabric scraps and the need for toddler-friendly holiday decorations. If you can relate, you’re in the right place!
Firstly, as a designer, I often find myself left with numerous fabric swatches that accumulate as a result of the design proofing process for my Spoonflower store. These swatches are usually left unused and can pile up over time.
Secondly, with a curious toddler exploring the house, it’s essential to ensure that holiday decorations are safe from little hands. Unfortunately, many of my ornaments are vintage glass baubles which are too fragile for toddlers. So, I embarked on a mission to find a creative solution that would allow me to utilize my fabric swatches and create kid-friendly holiday decorations without breaking the bank.
The Solution: Kitschy Fabric Wrapped Ornaments
This year, I decided to get crafty and make kitschy fabric-wrapped ornaments using my fabric scraps and swatches. Below, I’ll walk you through the step-by-step process of making these decoupage fabric ornaments:
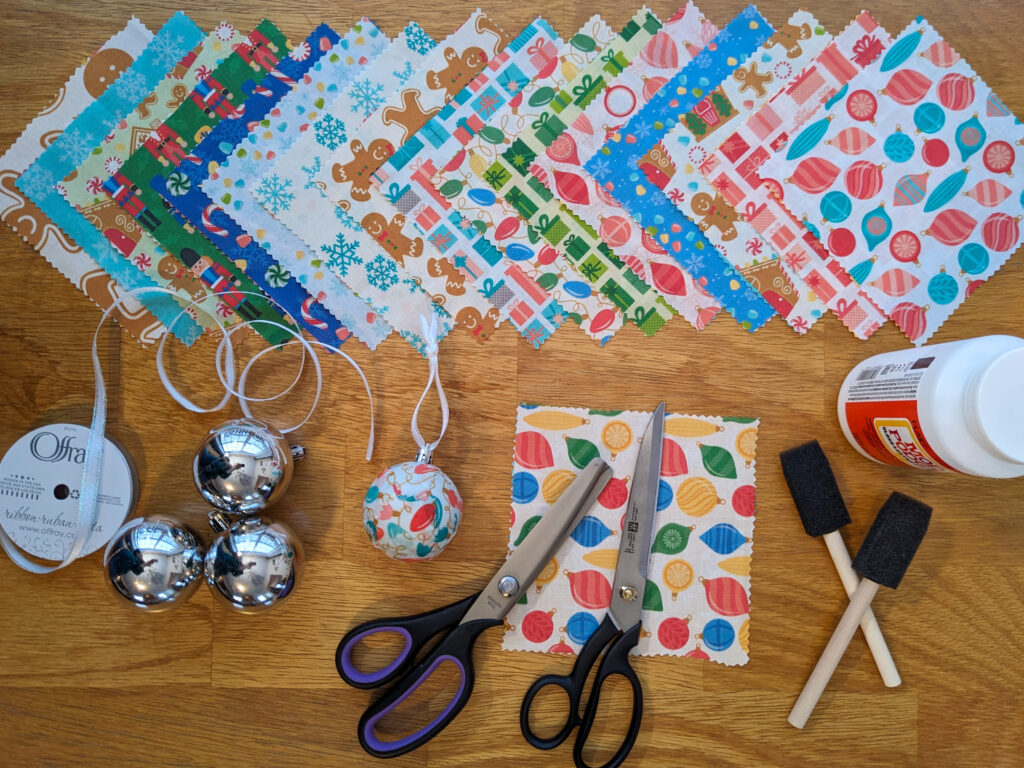
Supplies You’ll Need:
- Fabric Scraps or Swatches
- Mod Podge (gloss)
- Plastic Ornaments (60mm or 2.3’’)
- Sponge Brush
- Scissors
- Ribbon
Step-by-Step Instructions:
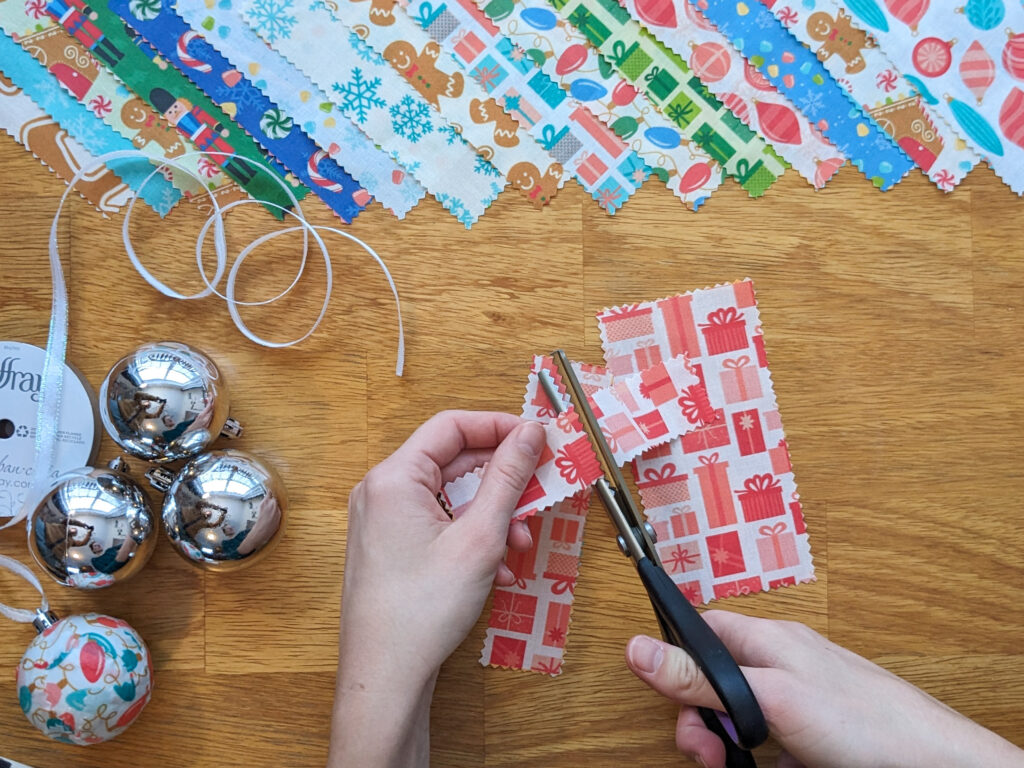
1. Begin by cutting your fabric into approximately 1’’ squares. The size may vary depending on the ornament and fabric swatch size. Using pinking shears can add a decorative touch, but is totally optional.
2. Remove the top of the plastic ornament and set it aside for later.
3. Apply a thin stroke of Mod Podge to the side of the ornament, roughly the same size as your fabric pieces.
4. Lay a single piece of fabric on top of the applied Mod Podge. Apply another layer of Mod Podge on top of the fabric. Don’t worry; the Mod Podge will dry clear. Use the sponge brush to smooth the fabric in place.
5. For added stability, the next piece of fabric should be applied perpendicular to the first piece.
6. Continue laying fabric pieces in a crisscross pattern until the plastic ornament is completely covered.
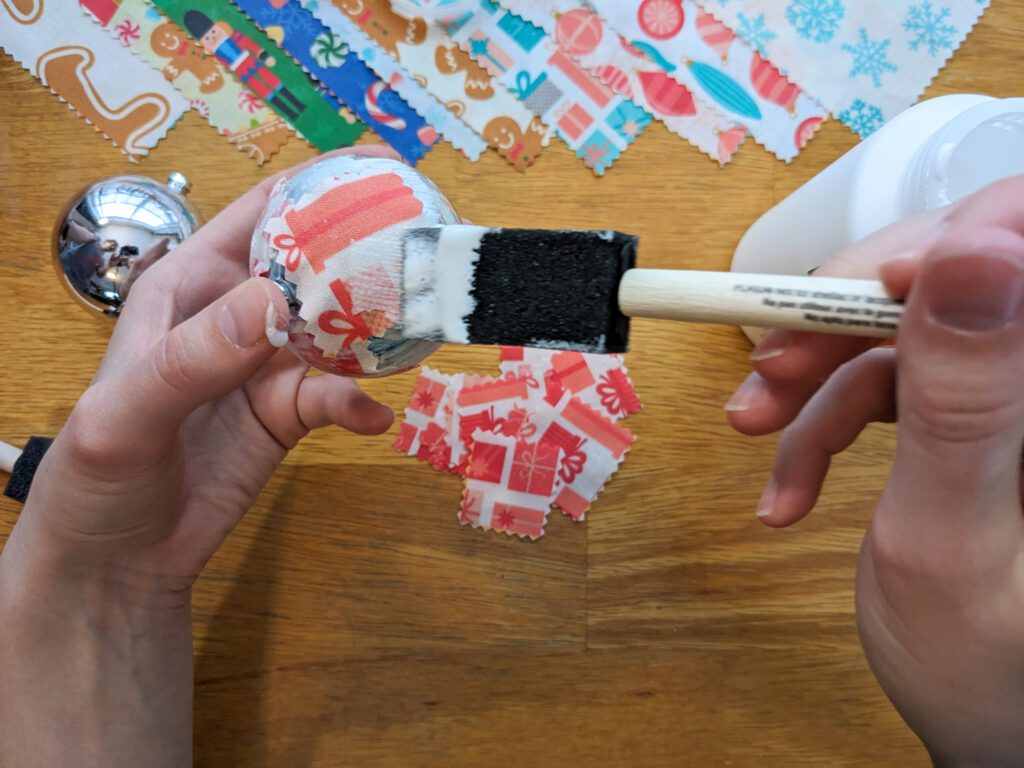
7. Use the brush to ensure that all fabric edges are smooth and securely adhered to the ornament.
8. Place the ornament upside down to dry and wait for at least an hour or two until it’s completely dry.
9. To achieve a glossy finish, apply additional coats of Mod Podge. Start by applying a thin layer across the entire ornament, then allow it to dry. Repeat this process until you achieve the desired gloss. I recommend applying two coats for a lustrous finish.
10. Reattach the top of the ornament to secure it.
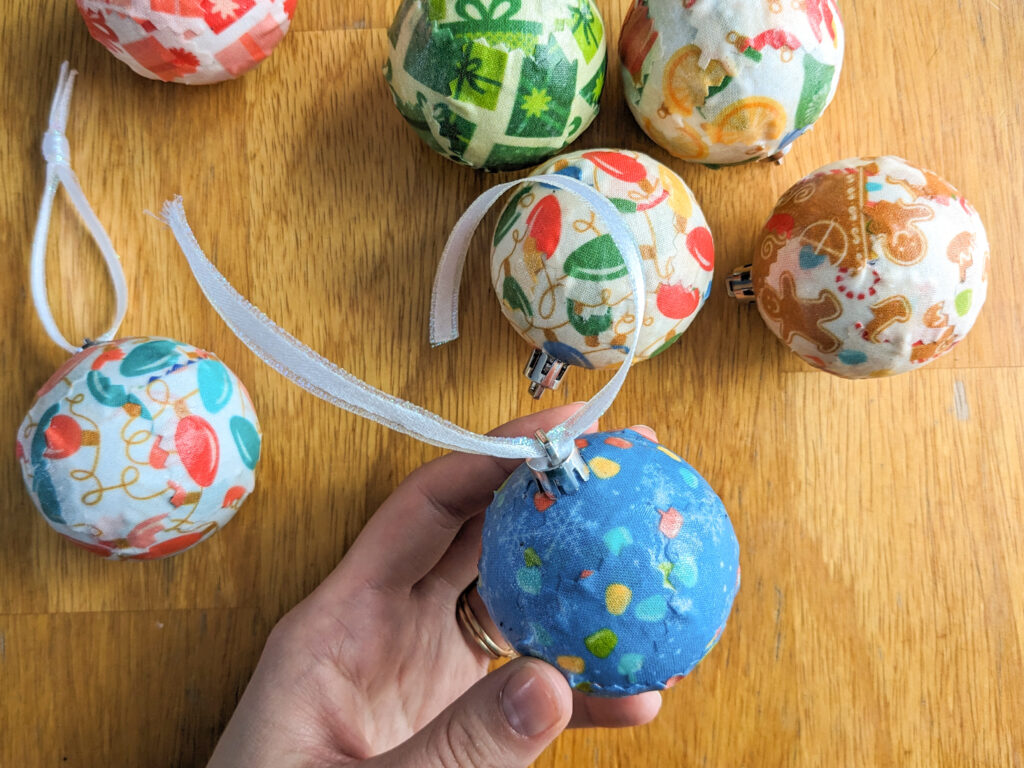
11. Finally, cut a length of ribbon, thread it through the top of the ornament, and tie it in a simple knot. I used 10’’ lengths of ribbon for this step.
These decoupage fabric ornaments are a delightful way to repurpose your fabric scraps and swatches while adding a unique, personal touch to your holiday decor. Plus, they provide a safe and attractive option for households with young children.
If you’ve been wondering what to do with your fabric remnants, now is the perfect time to get creative and make these lovely fabric-wrapped ornaments. Share your thoughts in the comments below and let me know your favorite ways to use fabric scraps. If you don’t have fabric scraps, there are plenty of options in my holiday fabric collection to discover now.
Happy crafting, and may your holiday season be filled with joy and creativity!
